Small Kitchen Counter Organization: How to Keep More Workspace Clear
Organize a small kitchen counter by protecting prep space, grouping everyday essentials, using vertical organizers, and moving low-frequency items elsewhere.
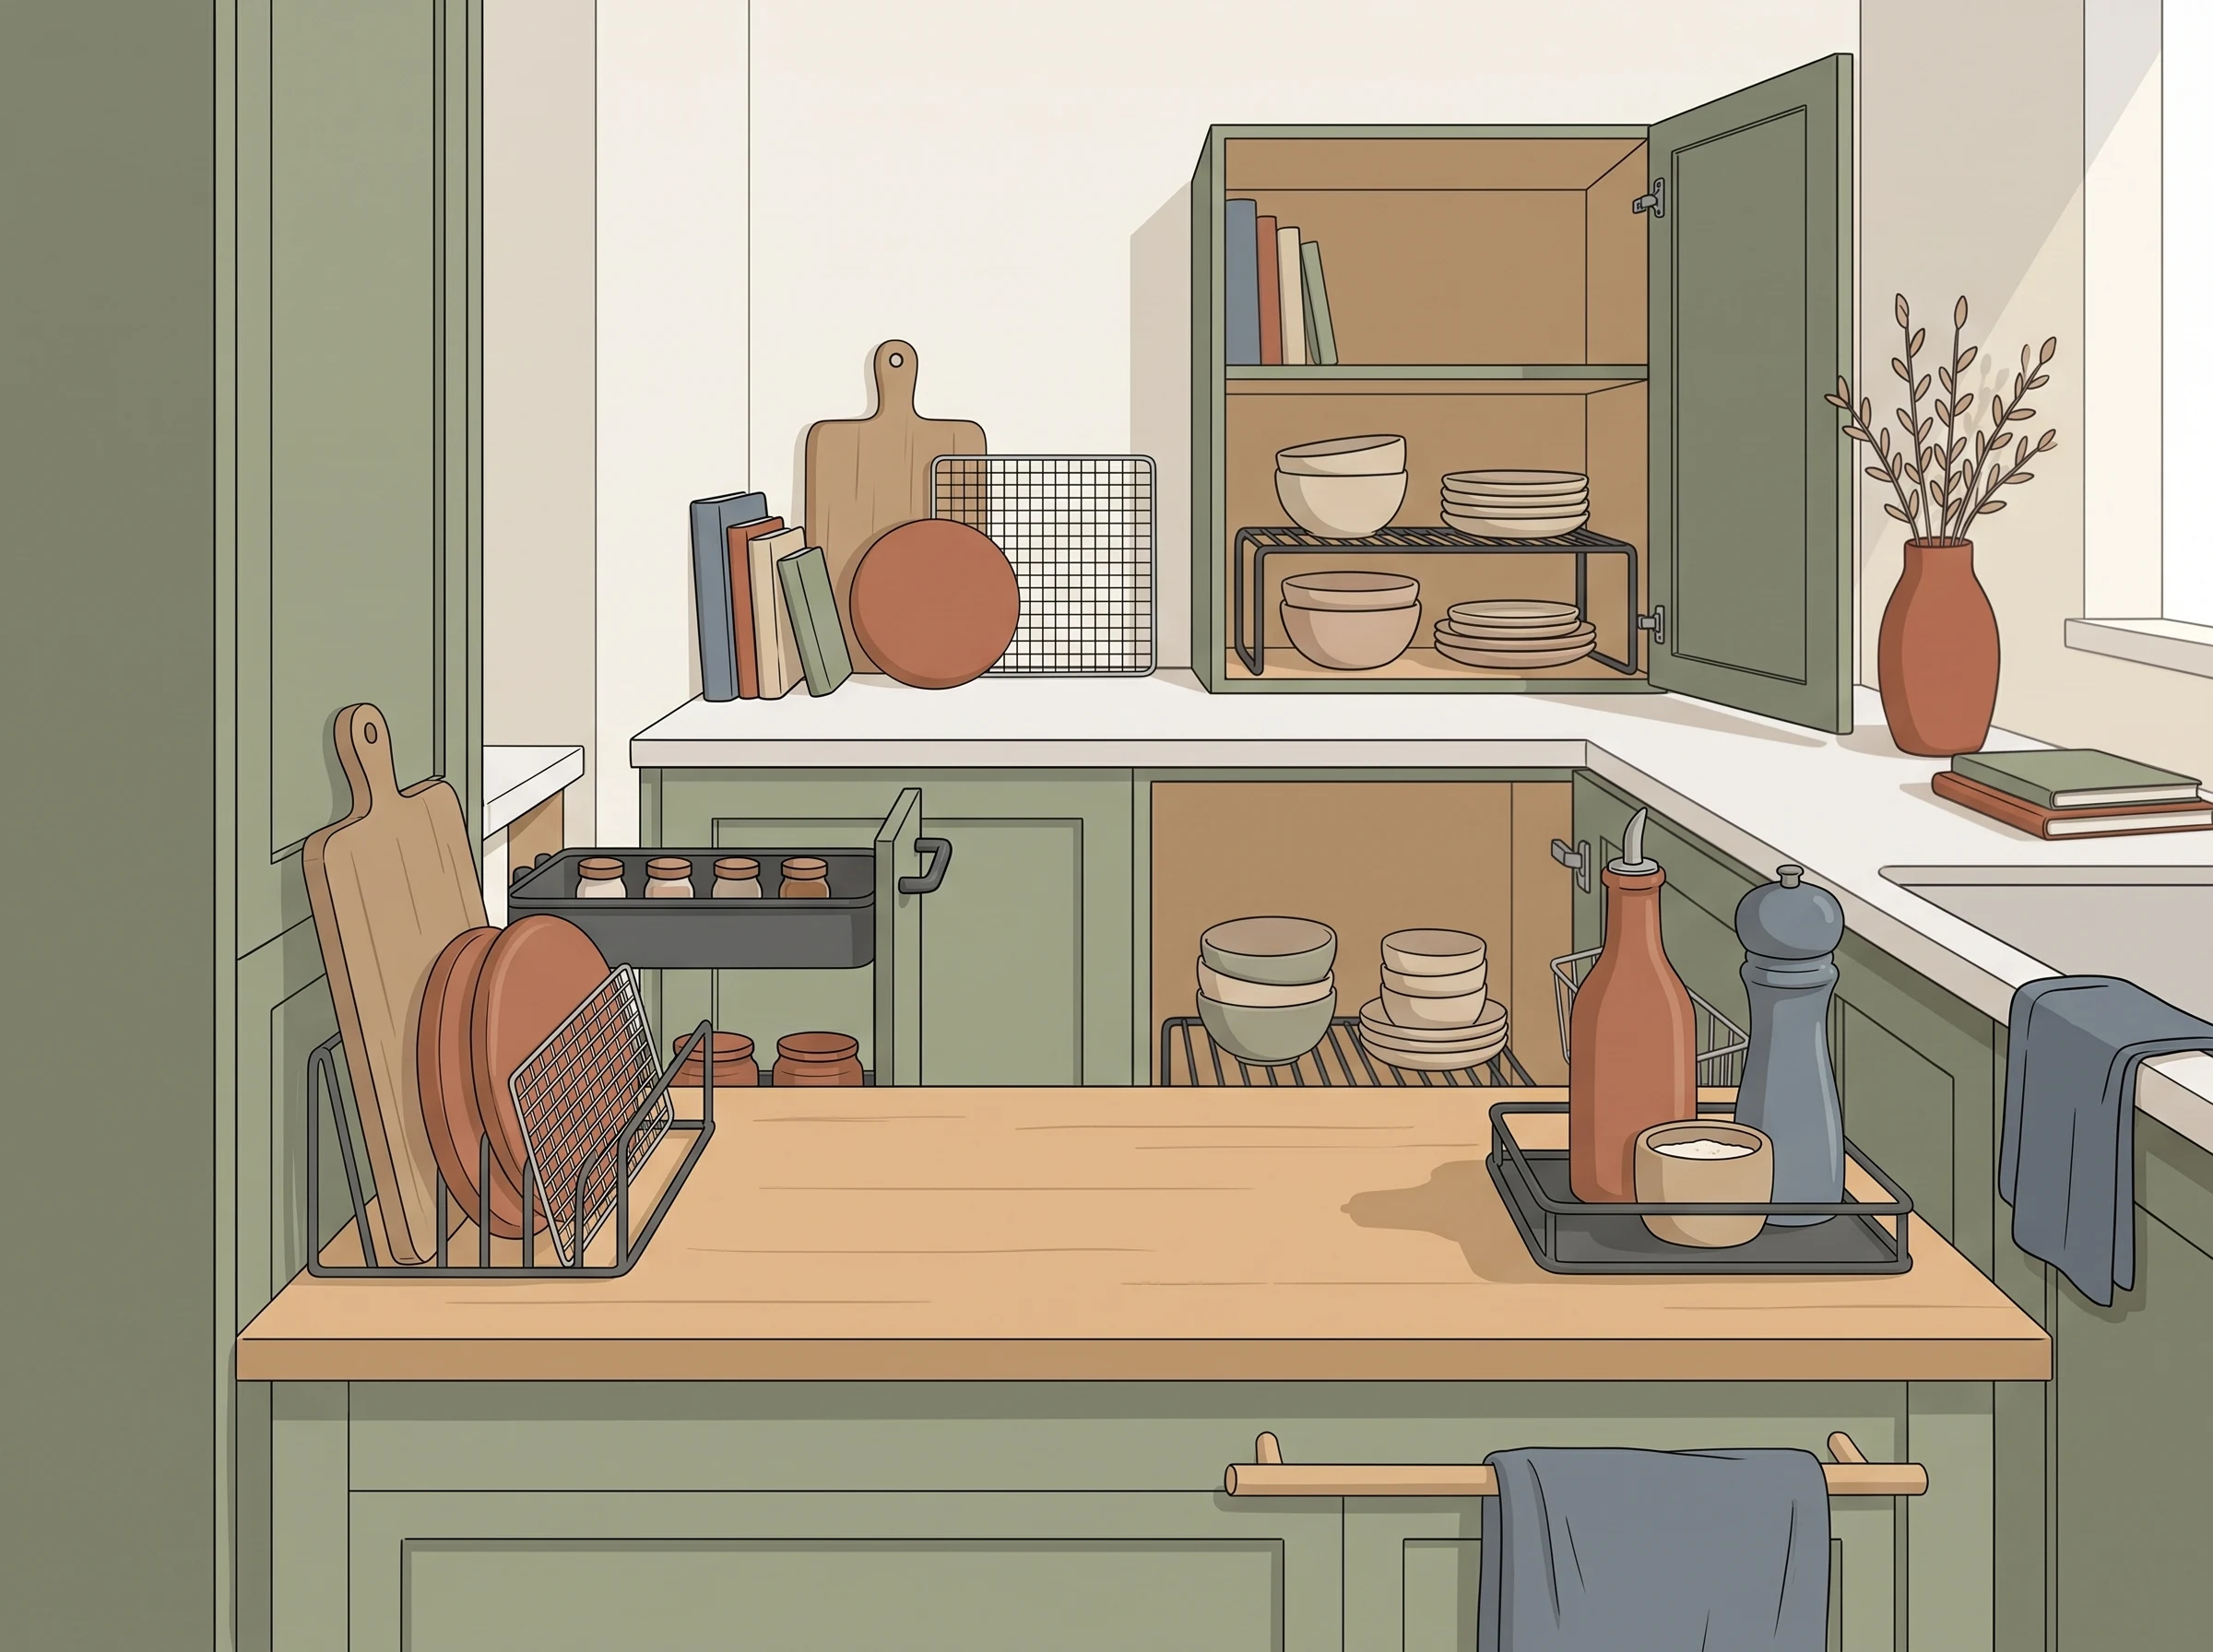
In a small kitchen, countertop space is not just storage.
It is workspace.
Every appliance, bottle, utensil holder, drying rack, and decorative object left on the counter competes with the space you need to:
- chop vegetables,
- assemble meals,
- prepare coffee,
- unpack groceries, and
- serve food.
Current IKEA countertop guidance recommends keeping daily-use items accessible while relocating occasional-use objects, grouping essentials by task, and using walls, doors, vertical organizers, and movable storage to preserve functional work surface.
The objective is therefore not:
Make the counter look empty.
It is:
Keep enough counter clear that the kitchen works.
1. Protect One Clear Prep Zone
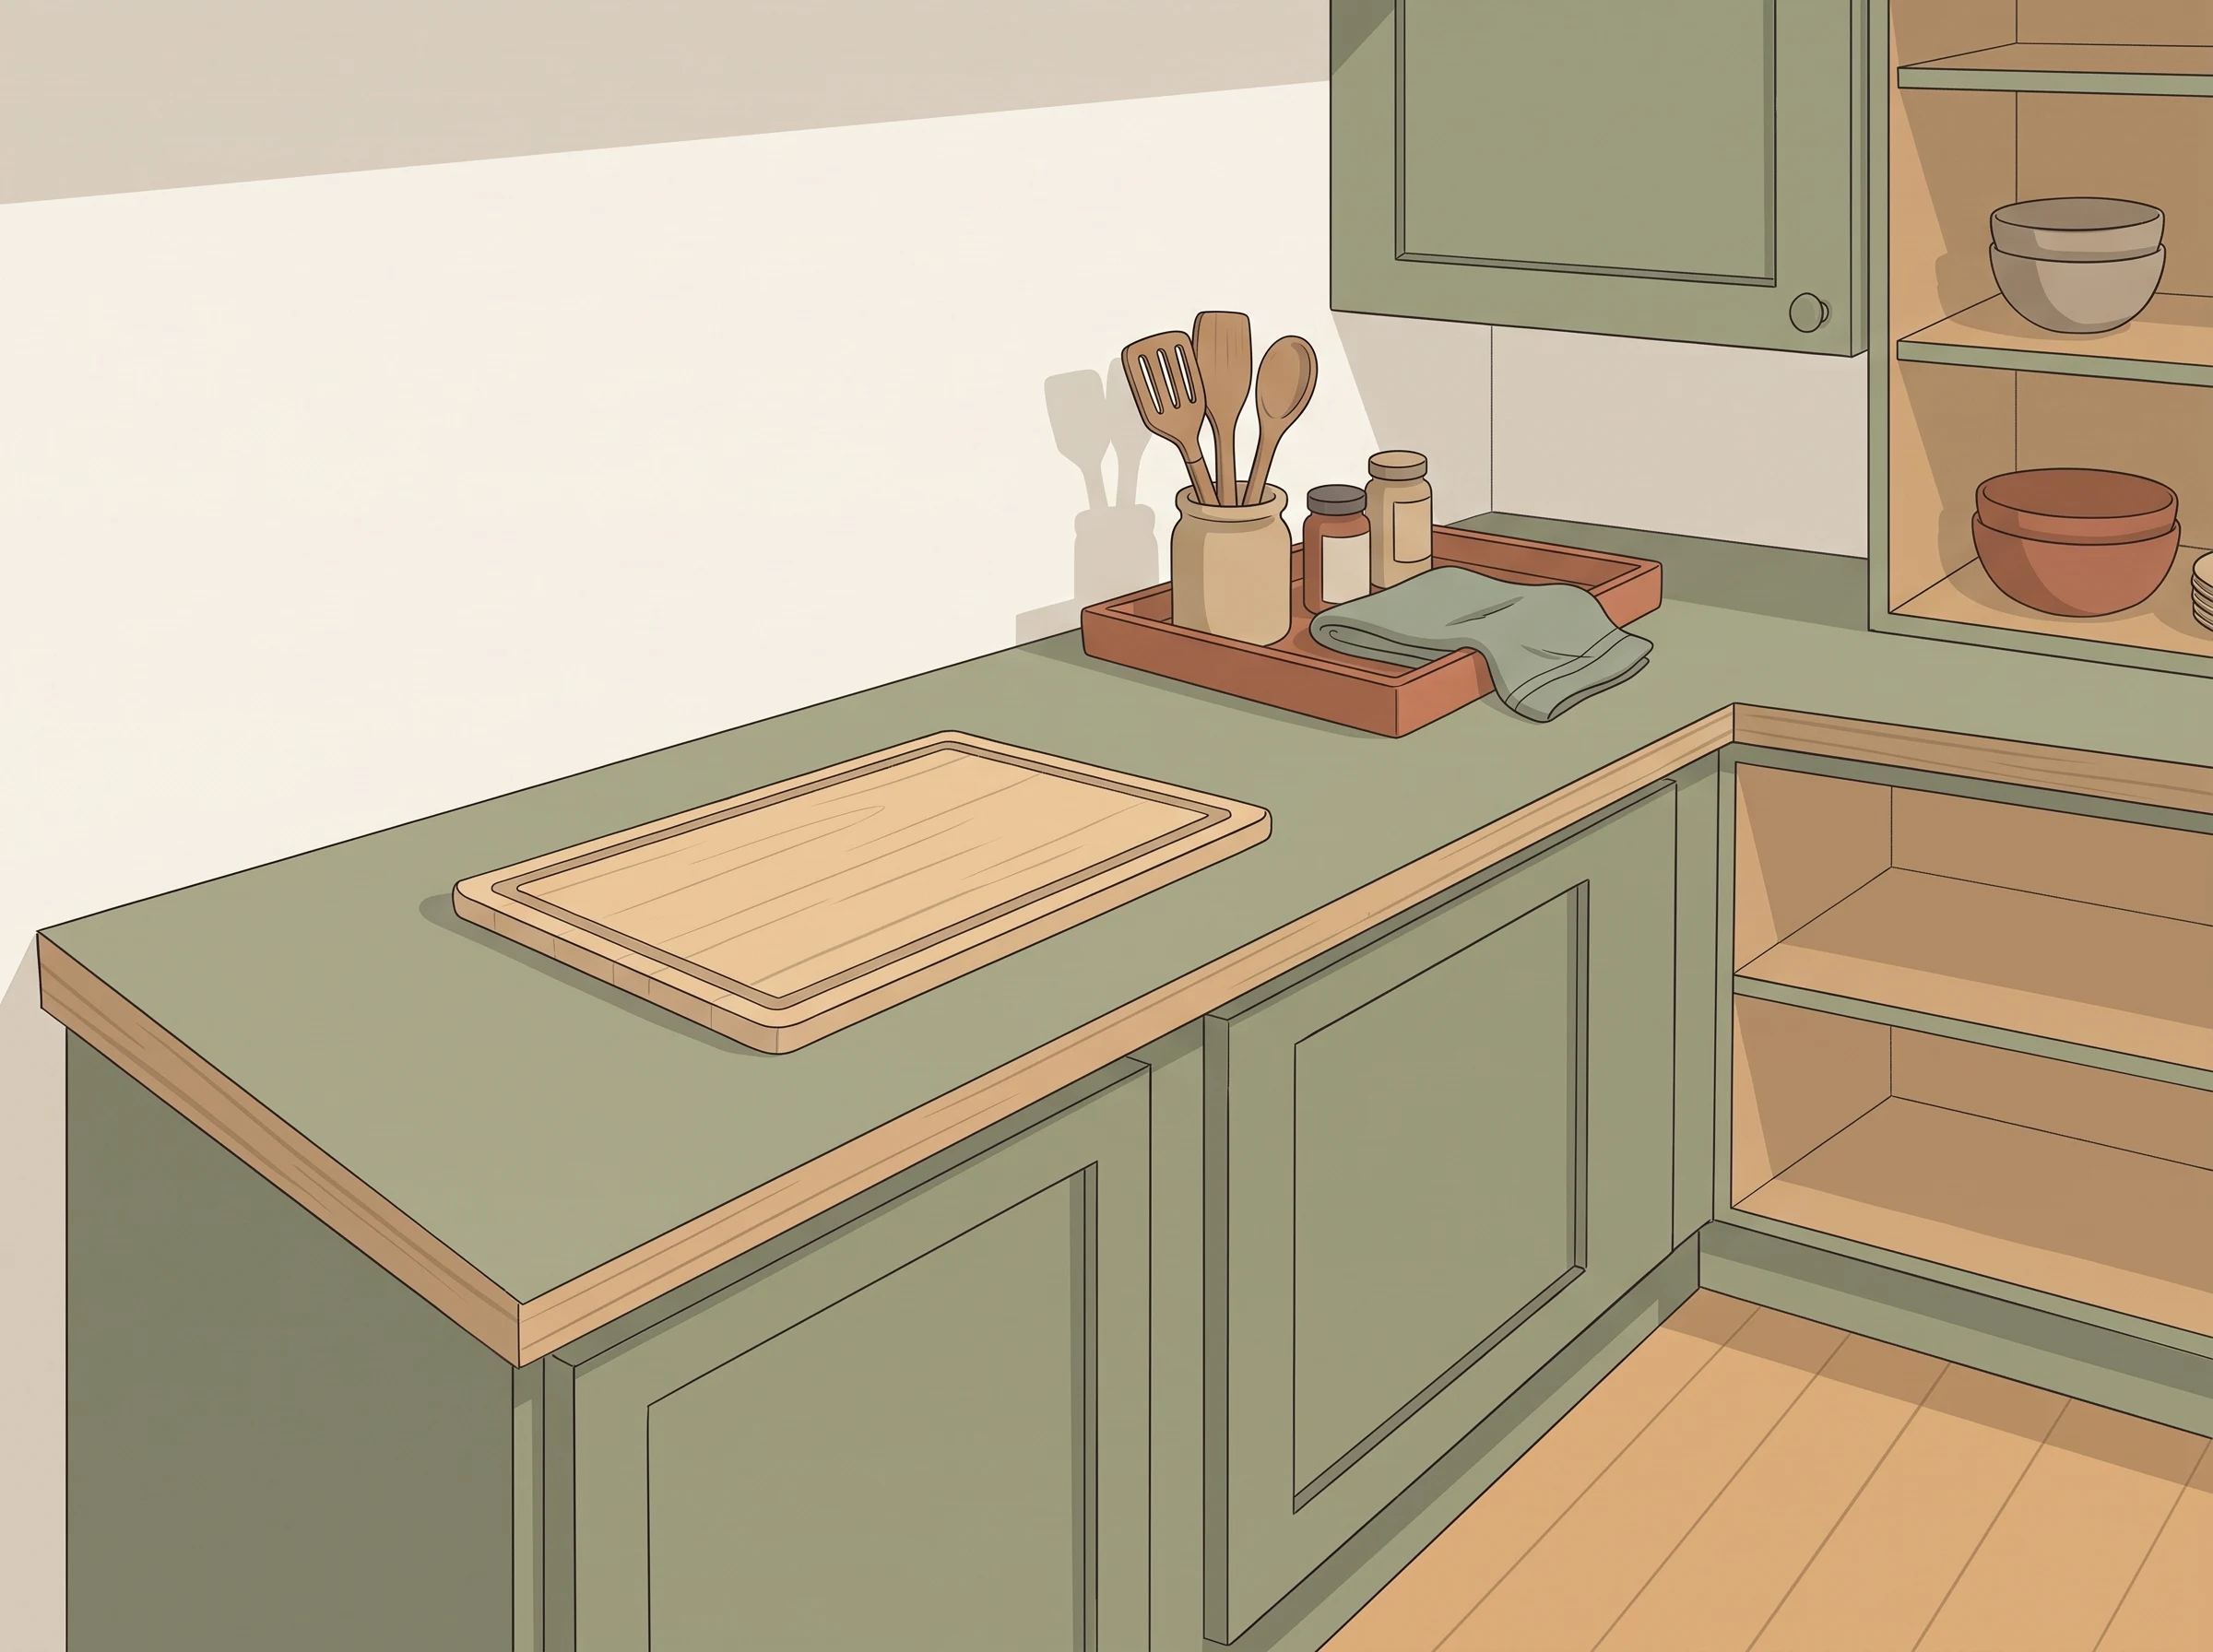
Start by defining a section of countertop that remains available for food preparation.
It does not need to be enormous.
It just needs to remain usable.
Pick the most practical location, often:
- between sink and stove,
- beside the main cutting-board area, or
- near the refrigerator.
Then treat that space as workspace rather than storage.
Do not gradually fill it with appliances simply because it is empty.
2. Keep Only Daily-Use Appliances Out
Current IKEA countertop guidance recommends reserving counter space for items used every day and storing occasional-use appliances elsewhere.
Ask each appliance:
Did I use this yesterday?
Will I probably use it tomorrow?
A coffee maker used every morning may earn permanent counter space.
A large appliance used twice a month may not.
Possible relocation zones
- lower cabinet,
- pantry shelf,
- rolling cart, and
- high shelf if safely accessible.
This can free more useful workspace than buying another organizer.
3. Group Small Essentials on a Tray
Several loose objects look and behave like clutter.
The same objects grouped into one task-based zone are easier to manage.
Current IKEA countertop guidance specifically recommends trays and containers to group items such as oils, salt, pepper, and cooking utensils.
Possible zones:
Cooking
- oil,
- salt,
- pepper, and
- frequently used seasonings.
Coffee
- coffee,
- filters,
- sweetener, and
- mugs where appropriate.
Sink
- soap,
- sponge, and
- brush.
Product slot
Compact countertop tray
Why it may fit
A tray defines the footprint of a category.
If the category outgrows the tray, that is a useful signal that too much is being kept on the counter.
4. Add Height Instead of More Footprint
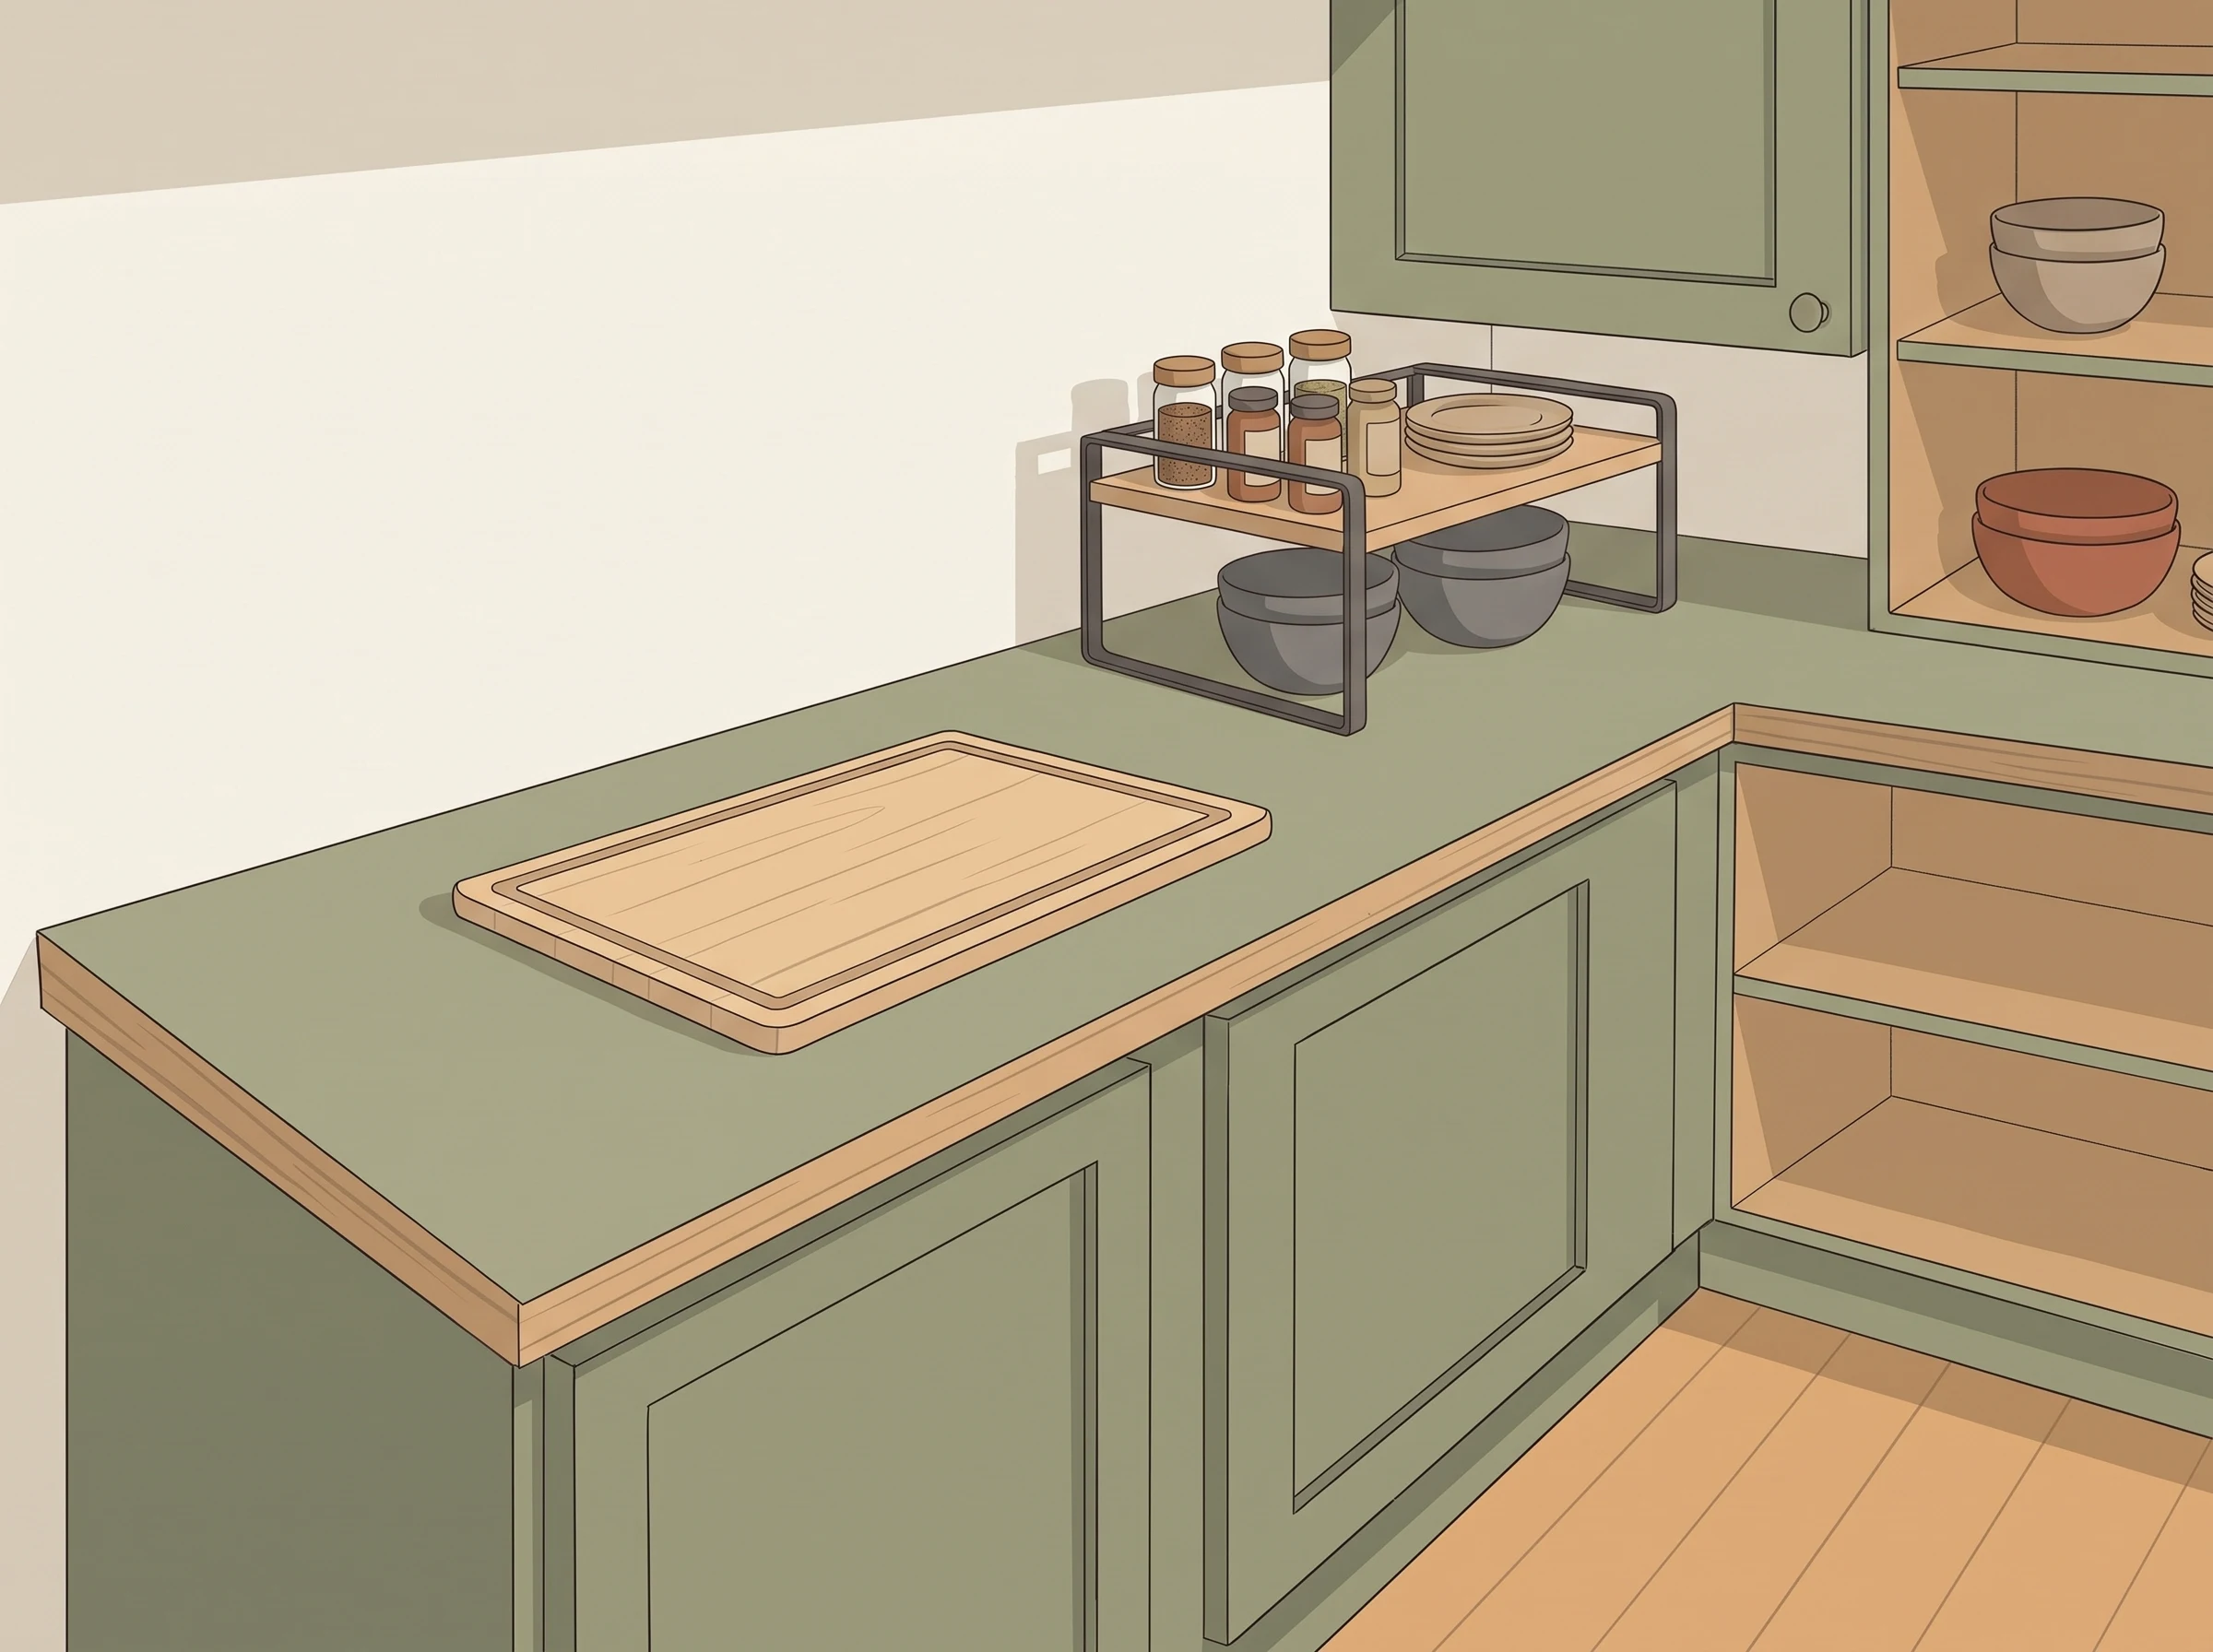
If a group of small objects must remain on the counter, consider organizing them on more than one level.
Current IKEA countertop guidance recommends multi-level racks for jars, spices, bottles, and similar small items.
Product slot
Two-tier countertop organizer
Good for:
- spices,
- bottles,
- coffee supplies, and
- tea supplies.
Consider
Do not use vertical organizers for tall objects that block cabinets or make the counter visually crowded.
Measure the available height.
5. Put Utensils Near the Task, Not Wherever There Is Space
A utensil crock at the far end of the kitchen may technically organize tools but still make cooking inconvenient.
Store frequently used utensils close to where they are used.
Possibilities include:
- one compact utensil holder,
- drawer organizer,
- wall rail where installation is appropriate, and
- cabinet-door hooks.
IKEA’s current guidance similarly recommends task-based placement of frequently used tools and wall storage when suitable.
Product slot
Compact utensil organizer
The best choice is not necessarily the one that holds the most.
It is the one that holds the tools you actually reach for.
6. Move Flat Objects Off the Counter
Some objects consume countertop area despite being very thin:
- cutting boards,
- baking sheets,
- trays, and
- food wraps.
Store them vertically where possible.
Possible locations:
- cabinet divider,
- cabinet-door rack, and
- narrow organizer.
Current IKEA guidance specifically identifies cabinet doors as useful places for cutting boards, wraps, and other flat items.
Product slot
Vertical cutting-board / tray organizer
Best for
Preventing stacks of flat items from permanently occupying a corner of the counter.
7. Make the Sink Zone Smaller
Dishwashing supplies can slowly spread across the counter.
Try limiting the sink zone to the items needed during normal daily washing.
For example:
- soap,
- sponge, and
- brush.
Move backups elsewhere.
Current IKEA guidance recommends keeping essential sink accessories accessible while storing extra cleaning supplies under the sink.
Product slot
Compact sink caddy
Why it may fit
It gives wet cleaning items one defined footprint.
Consider
Choose a design appropriate for moisture and follow care instructions.
8. Use a Rolling Cart for Counter Overflow
If a small kitchen genuinely needs more accessible storage, a cart can keep supplies nearby without permanently consuming prep space.
IKEA’s current countertop-organization guidance recommends portable carts and other movable solutions for flexible storage.
Product slot
Compact rolling kitchen cart
Possible uses:
- coffee station,
- baking supplies,
- pantry overflow, and
- small appliances.
Best for
Items that need to remain accessible but do not deserve permanent countertop space.
9. Reset the Counter Regularly
Even a good organization system gradually accumulates:
- mail,
- packaging,
- cups,
- groceries, and
- objects from other rooms.
A short reset is often more effective than buying another organizer.
Current IKEA guidance recommends regular countertop resets to prevent clutter from rebuilding.
A simple reset:
Return tools
↓
Remove unrelated items
↓
Put appliances away
↓
Wipe counter
↓
Restore task zones
The system should be easy enough that this takes minutes rather than becoming a major cleaning project.
A Simple Counter-Zoning System
Think of the counter as several functional areas.
Zone 1 — Prep
Keep mostly clear.
Zone 2 — Daily appliance
One or two genuinely frequent appliances.
Zone 3 — Cooking essentials
A small grouped set.
Zone 4 — Sink
Only necessary washing items.
The smaller the kitchen, the more disciplined those zones need to be.
What Should Stay on the Counter?
Ask three questions.
Do I use it nearly every day?
If no, consider moving it.
Does it need immediate access?
If no, a cabinet or cart may be better.
Does it interfere with food preparation?
If yes, relocate it even if it looks attractive.
Counter space is functional real estate.
Quick Decision Guide
| Problem | First solution |
|---|---|
| Too many loose bottles | Tray |
| Spices crowding surface | Two-tier organizer |
| Utensils spreading | Compact holder / rail |
| Cutting boards stacked | Vertical organizer |
| Sink supplies spreading | Sink caddy |
| Appliances crowding prep area | Store elsewhere |
| Too much accessible stuff | Rolling cart |
Product Opportunities for This Guide
Research one product for each of these slots:
- Compact countertop tray
- Two-tier counter organizer
- Compact utensil organizer
- Vertical cutting-board organizer
- Sink caddy
- Compact rolling cart
Six is probably the maximum needed.
Some sections may remain purely editorial.
The Bottom Line
A well-organized small kitchen counter should not maximize how many objects fit on it.
It should maximize how much useful work can happen there.
Protect a prep zone first.
Then group daily essentials, use height carefully, move flat objects vertically, and relocate occasional-use equipment.
If an organizer gives you more storage but less usable counter, it may be solving the wrong problem.
Relevant options
Product considerations
These are practical product types to evaluate against your measurements and installation limits.
Two-tier counter organizer
Two-tier counter organizer
May work well for:Comparing options for crowded counters
- Useful when
- Crowded counters
- Consider
- Confirm counter footprint appliance clearance and cleaning access
Potential benefits
- Relevant product category
- Retailer destination available
Vertical cutting-board organizer
Vertical cutting-board organizer
May work well for:Comparing options for crowded counters
- Useful when
- Crowded counters
- Consider
- Confirm base depth and intended board sizes
Potential benefits
- Relevant product category
- Retailer destination available
Compact dish-drying rack
Compact dish-drying rack
May work well for:Comparing options for crowded counters
- Useful when
- Crowded counters
- Consider
- Confirm drainage direction footprint and cleaning needs
Potential benefits
- Relevant product category
- Retailer destination available